Installation of Minikid 4 Pro
Axkid Minikid 4 Pro – Step-by-Step Guide
Correct installation is key to keeping your child safe in the car. This simple step-by-step guide will help you fit the Axkid Minikid 4 Pro securely and confidently in your vehicle – making sure your child travels safely every time.
Tip: For more detailed instructions, please refer to the full user manual.
Prepare for Installation – Using the Tether Straps
To safely install the Minikid 4 Pro, the seat must be secured using the supplied lower tether anchorage straps that wrap around the seat rails.
If your car doesn’t already have anchorage points, additional attachment points may be needed. For guidance, please refer to our lower tether anchorage straps & attachment loops support page.
Installation guide för Axkid Minikid 4 Pro

Begin by securing the lower tether straps to your vehicle. Each strap has a loop at the end — thread the hook through the loop to fasten them securely around the seat rail or designated anchorage point.

Place the Minikid 4 Pro in the back seat of your car, in the position that best suits your child. The further out on the vehicle seat the car seat is placed, the more legroom your child will have.
You can also adjust the recline of the seat using the adjustable support foot — either pulled out or pushed in — depending on the desired seating angle.
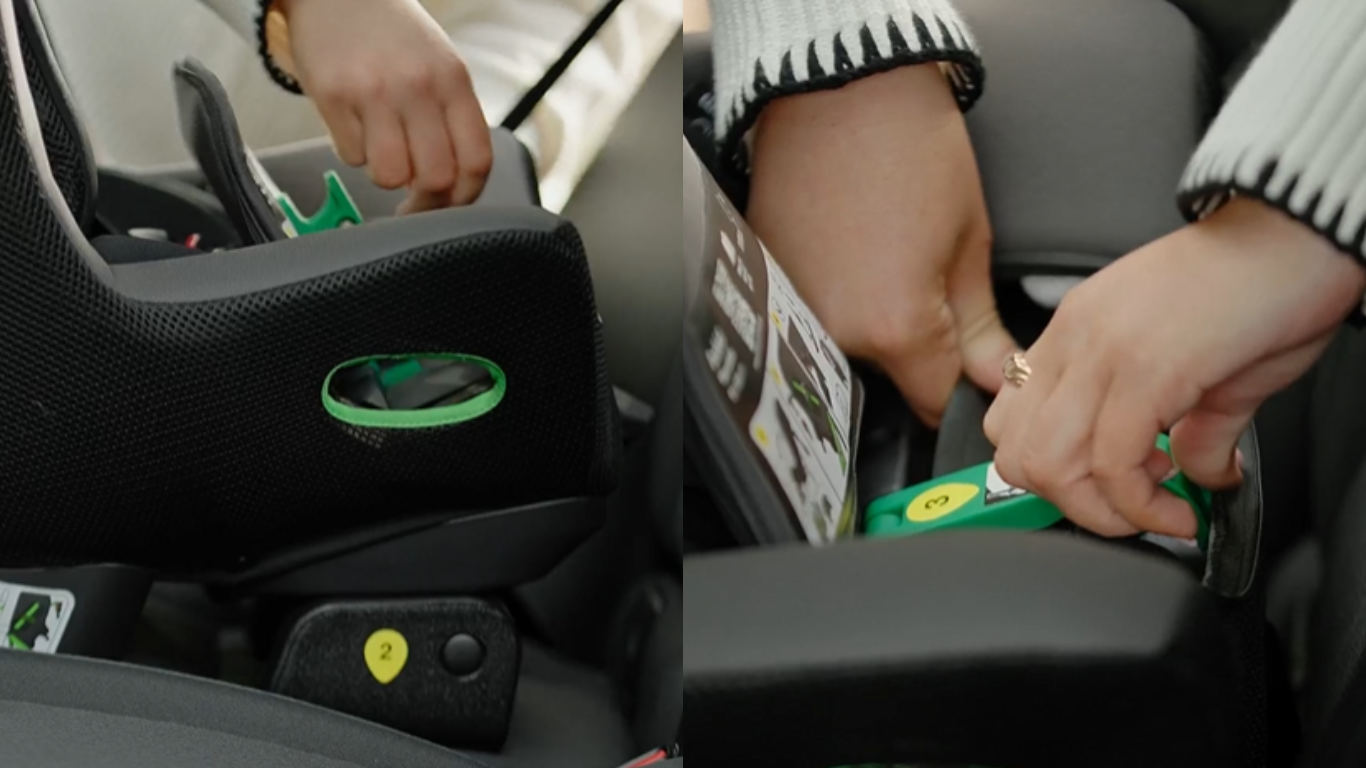
Open the seat fabric using the zipper and lift the green belt clamp inside. Guide the vehicle’s seat belt through the green belt paths in the car seat. Fasten the seat belt and pull it tight to remove any slack.
Close the green belt clamp to lock the seat belt and secure the car seat in place.
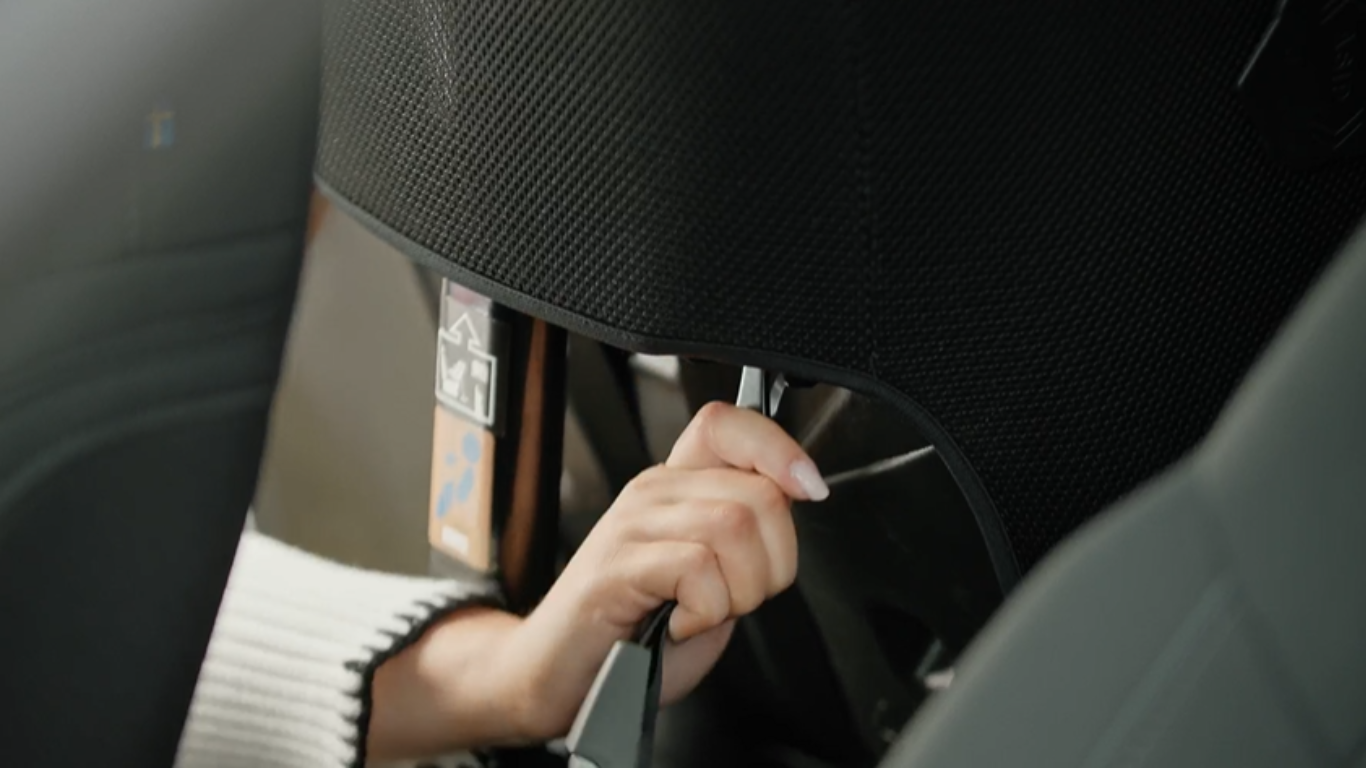
Hook the lower tether straps to the back of the car seat. Pull the straps downward to tighten and stabilise the installation.

Lower the support leg until it rests firmly on the vehicle floor. If needed, gently lift the car seat to ensure the leg locks correctly into place and stands solidly on the floor.
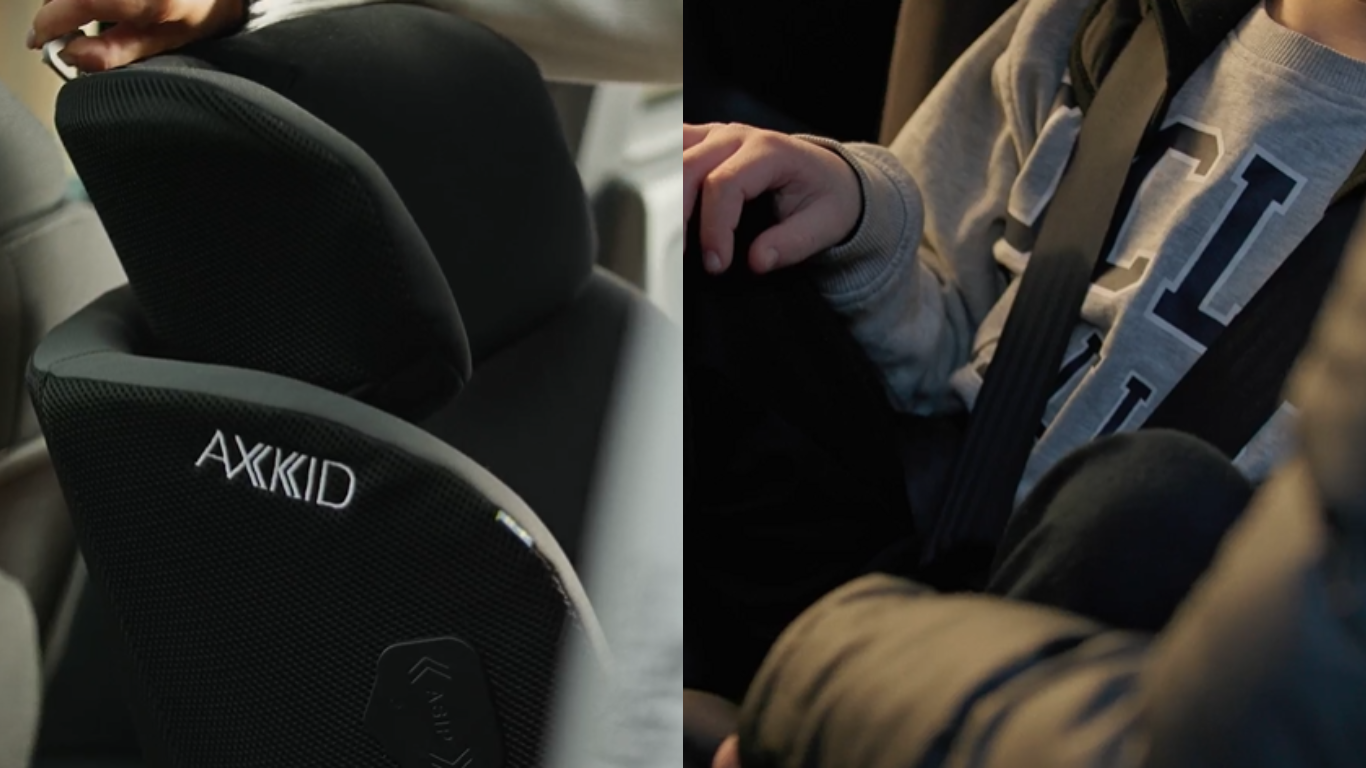
Adjust the headrest to the correct height for your child. Loosen the internal 5-point harness to easily place your child in the seat. Then tighten the harness straps to ensure a snug and secure fit.

Install the ASIP unit on the side of the car seat that is closest to the vehicle door. Align it properly and pull it down into place until it locks securely.
Need help checking if the Minikid 4 Pro fits your car? Visit our vehicle list for a quick and clear overview of compatible car models and installation options for your specific vehicle.
Want to learn more about the Minikid 4 Pro?
Explore the Minikid 4 Pro story page to discover its unique safety features, flexible adjustment options, and how it’s designed to grow with your child — making every journey both safe and comfortable.