Installation of Spinkid 2
How to Install the Axkid Spinkid
For more detailed information, please refer to the full Axkid Spinkid 2 manual.
Installation guide for Spinkid

Start the installation by folding down the support leg on the Spinkid 2. This is the first step, as the leg must be in the down position before placing the seat into the car.
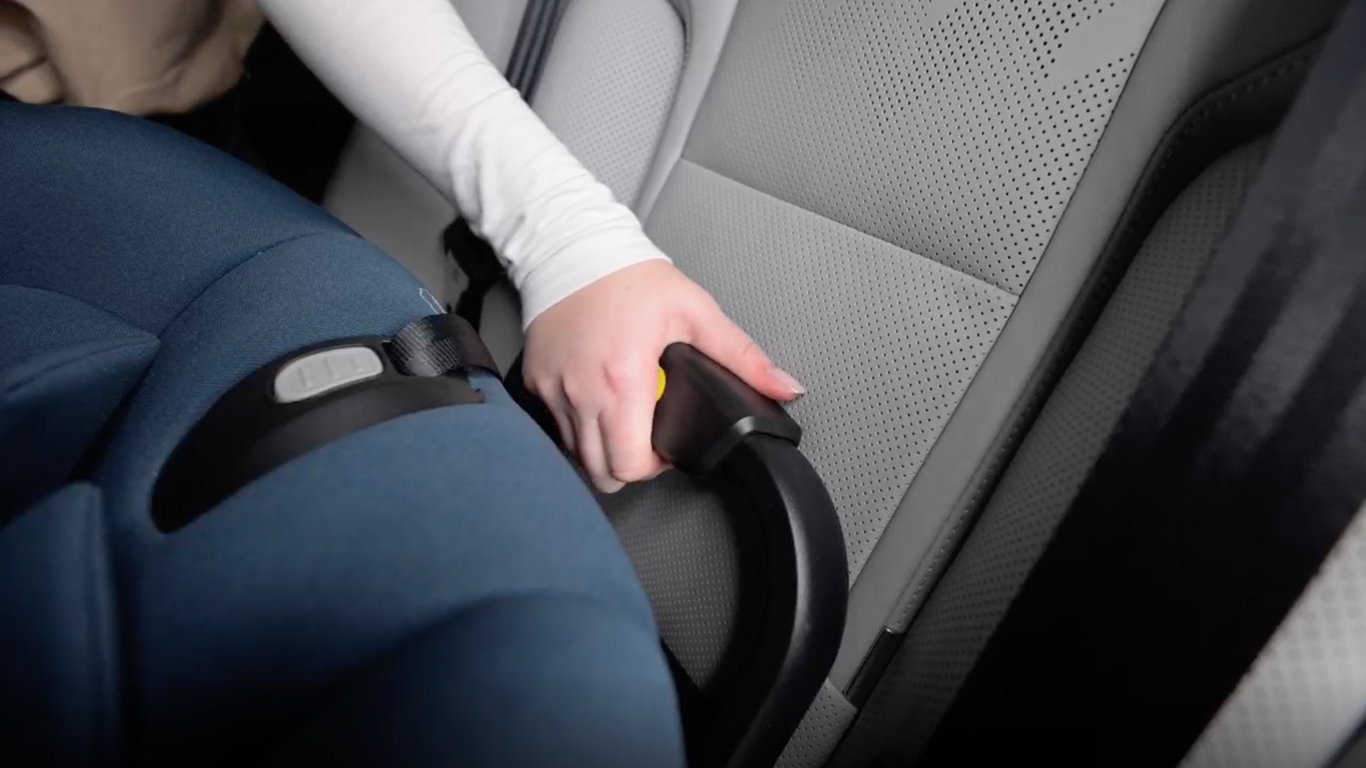
Press the button on the rebound bar to make more room for the installation process. This bar will later provide extra stability and safety during travel.
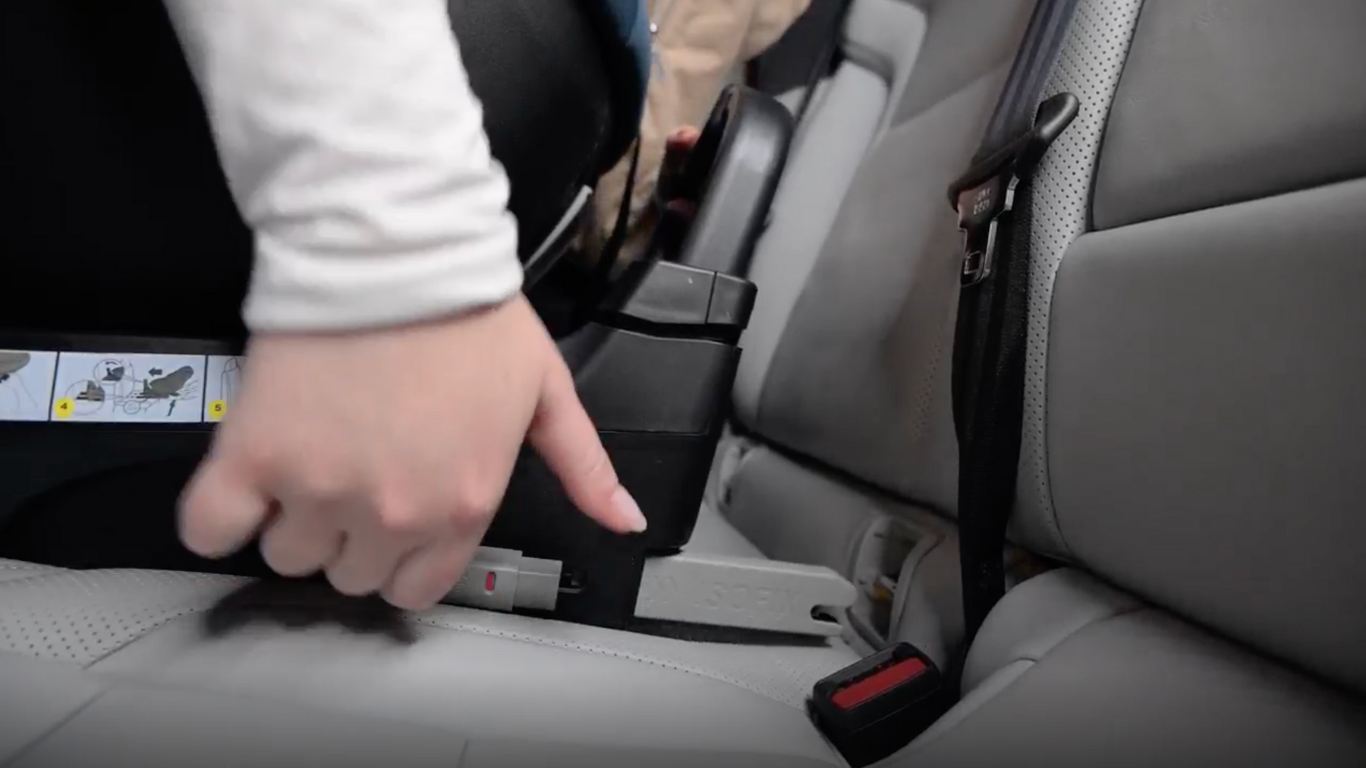
Press the grey button on the base rail to extend the ISOFIX arms. This allows you to easily connect the Spinkid 2 to your car’s ISOFIX anchorage points.
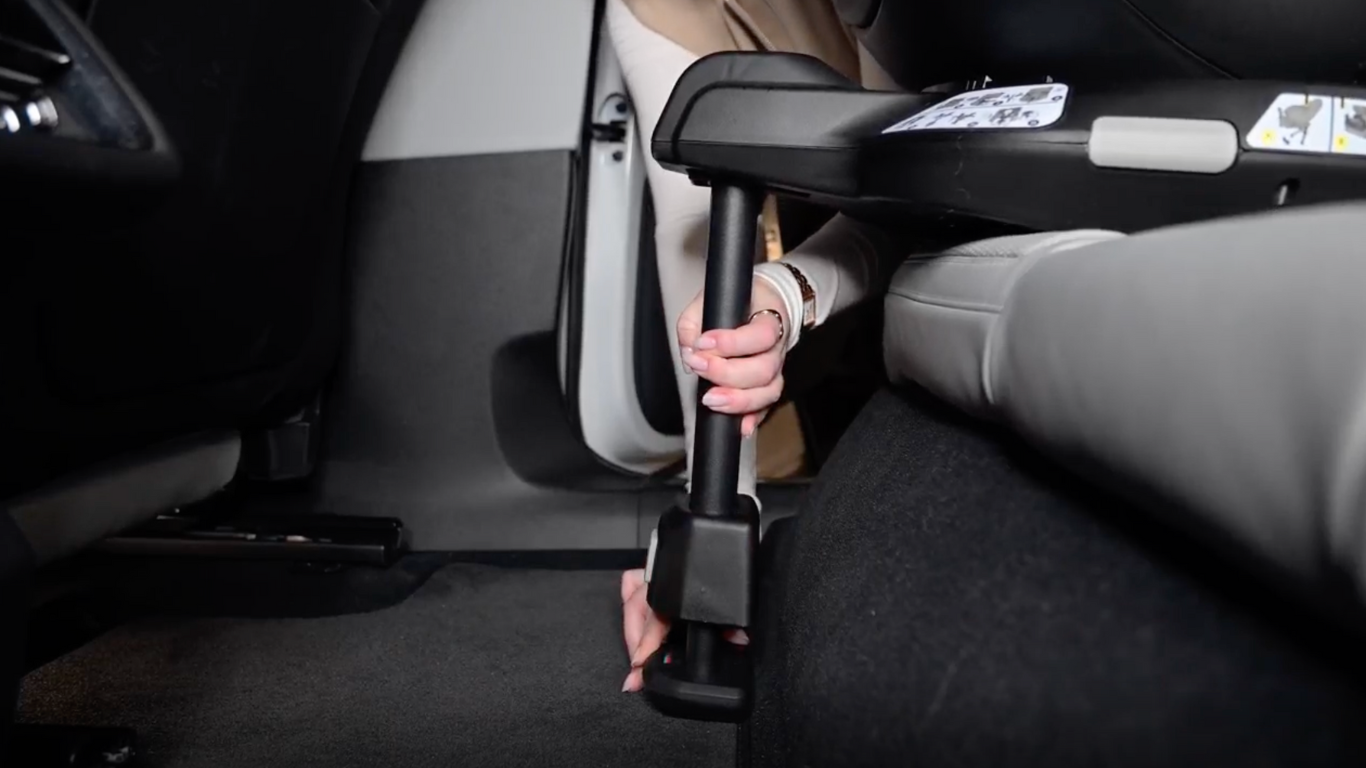
Press the button on the support leg to extend it until it touches the vehicle floor. Make sure it stands firmly and is positioned correctly to ensure maximum stability.
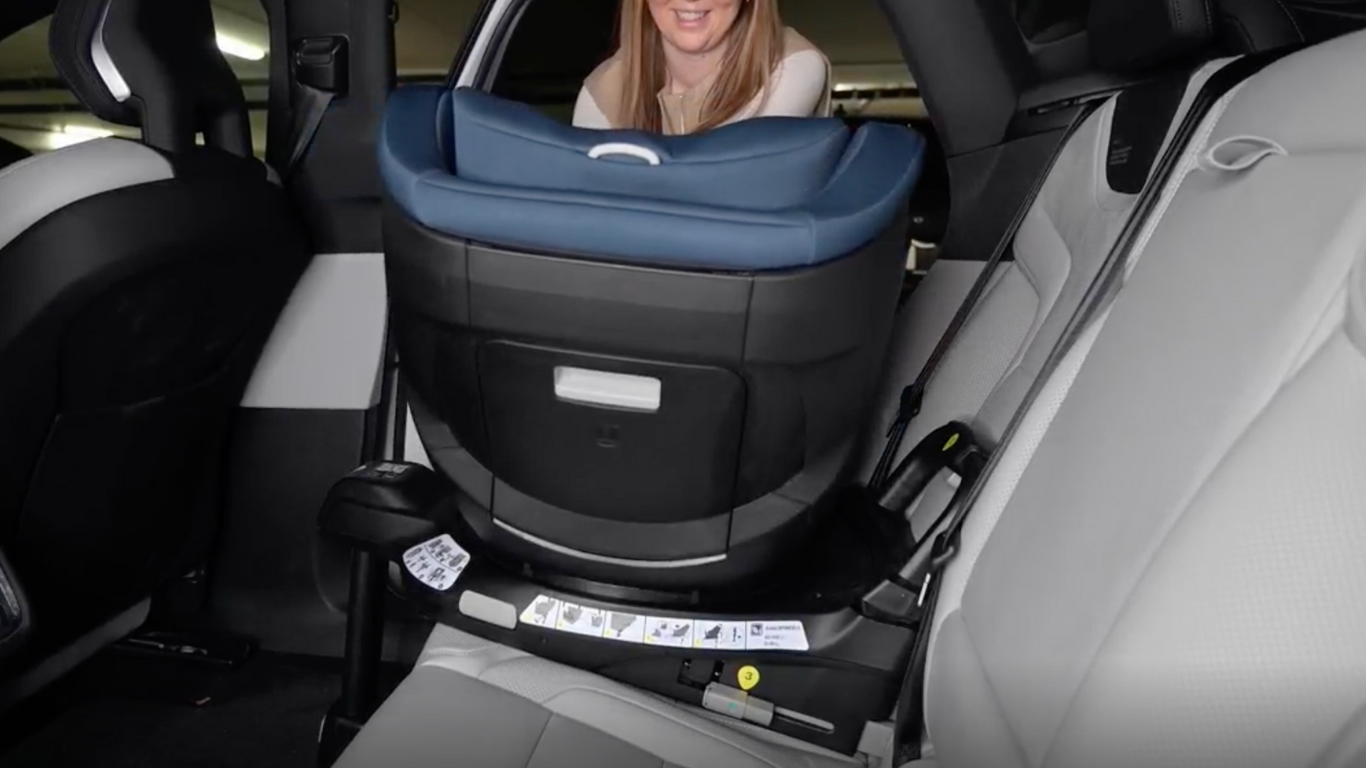
Thanks to Spinkid’s smooth 180-degree rotation, it’s easy to turn the seat toward the car door. This makes getting your child in and out of the seat more ergonomic and convenient. Activate the function by pressing the wide grey button on the side of the base.
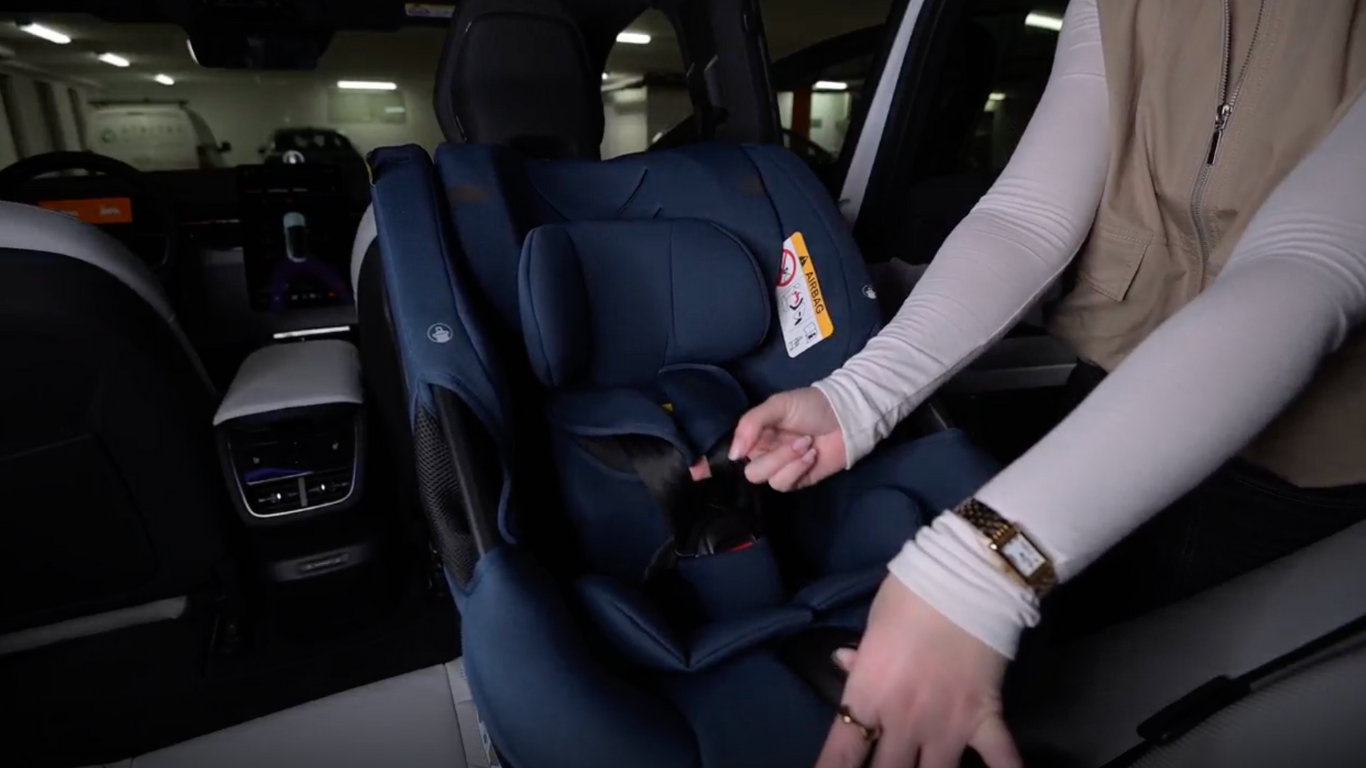
Loosen the harness by pressing the button on the harness buckle. This allows you to easily place your child in the seat and then secure the harness afterwards.

The installation is now complete! Place your child in the seat and tighten the internal harness until it fits snugly and securely. You can also adjust the headrest and recline angle of the Spinkid to provide the perfect seating position for your child throughout the journey.
Visit Spinkid 2 to learn more about its smart features, innovative safety design, and long-term comfort for your child.