Installation of Minikid 4 Max
Axkid Minikid 4 Max – Step-by-Step Guide
Installing your child’s car seat correctly is essential for their safety. Follow this simplified step-by-step guide for the Minikid 4 Max to ensure the seat is securely and properly fitted in your vehicle.
Tip: For more detailed instructions, please refer to the full user manual.
Prepare for Installation – Using the Tether Straps
To safely install the Minikid 4 Max, the seat must be secured using the vehicle’s attachment loops or the supplied lower tether anchorage straps that wrap around the seat rails.
If your car doesn’t already have anchorage points, additional attachment points may be needed. For guidance, please refer to our lower tether anchorage straps & attachment loops support page.
Installation guide för Axkid Minikid 4 Max

Position the car seat on the vehicle seat where you plan to install it. Make sure the seat is placed in a rear-facing position and rests flat on the vehicle seat surface.

Slide the car seat forward or backward to adjust legroom for your child. Use the adjustable recline lever to achieve the correct recline angle.

Open the seat cover zipper of the car seat. Thread the vehicle’s seatbelt through the green-marked belt path – starting from one side, passing through under the clamp, and exiting on the opposite side. Buckle the seatbelt securely into the vehicle’s seatbelt buckle.
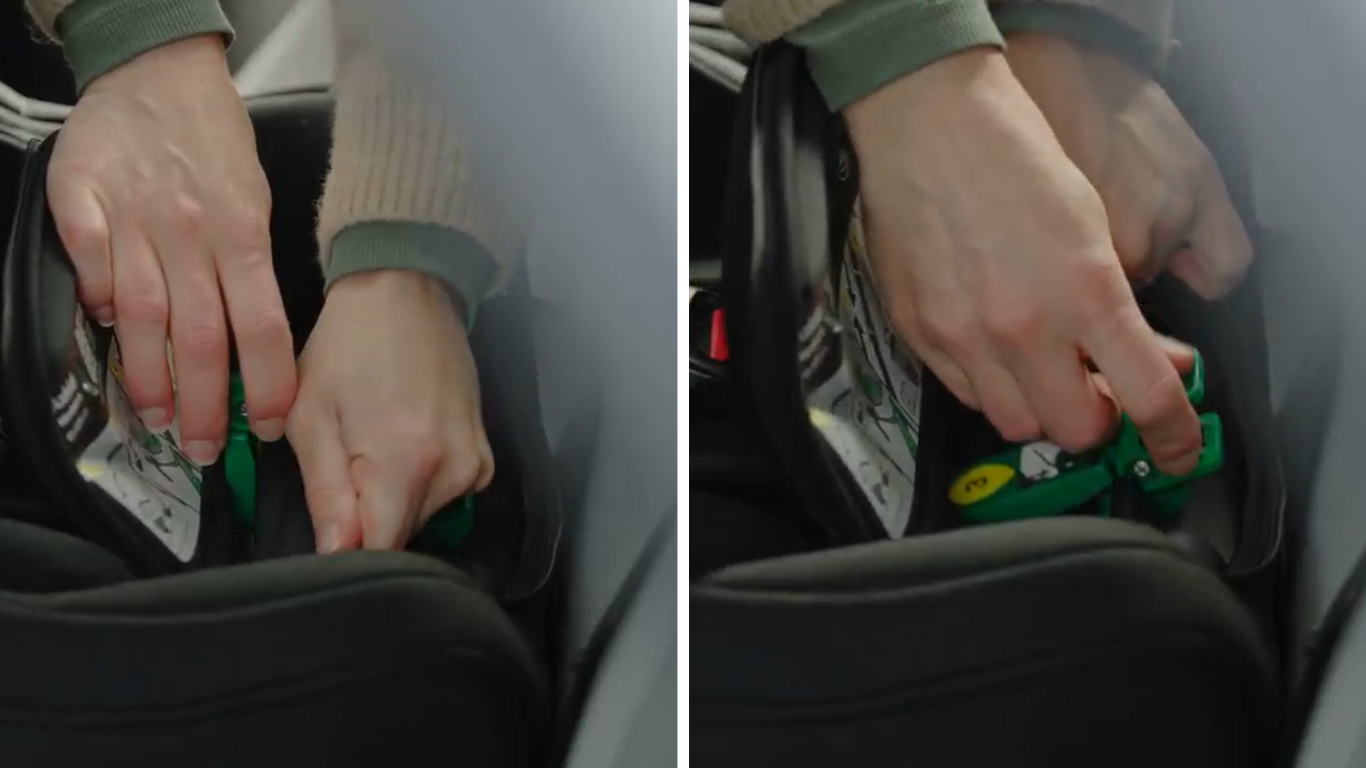
Pull the seatbelt tight to remove any slack. Once it’s properly tensioned, close the green belt clamp to lock the seatbelt in place. Then zip the seat cover back over the belt path to finish this step.
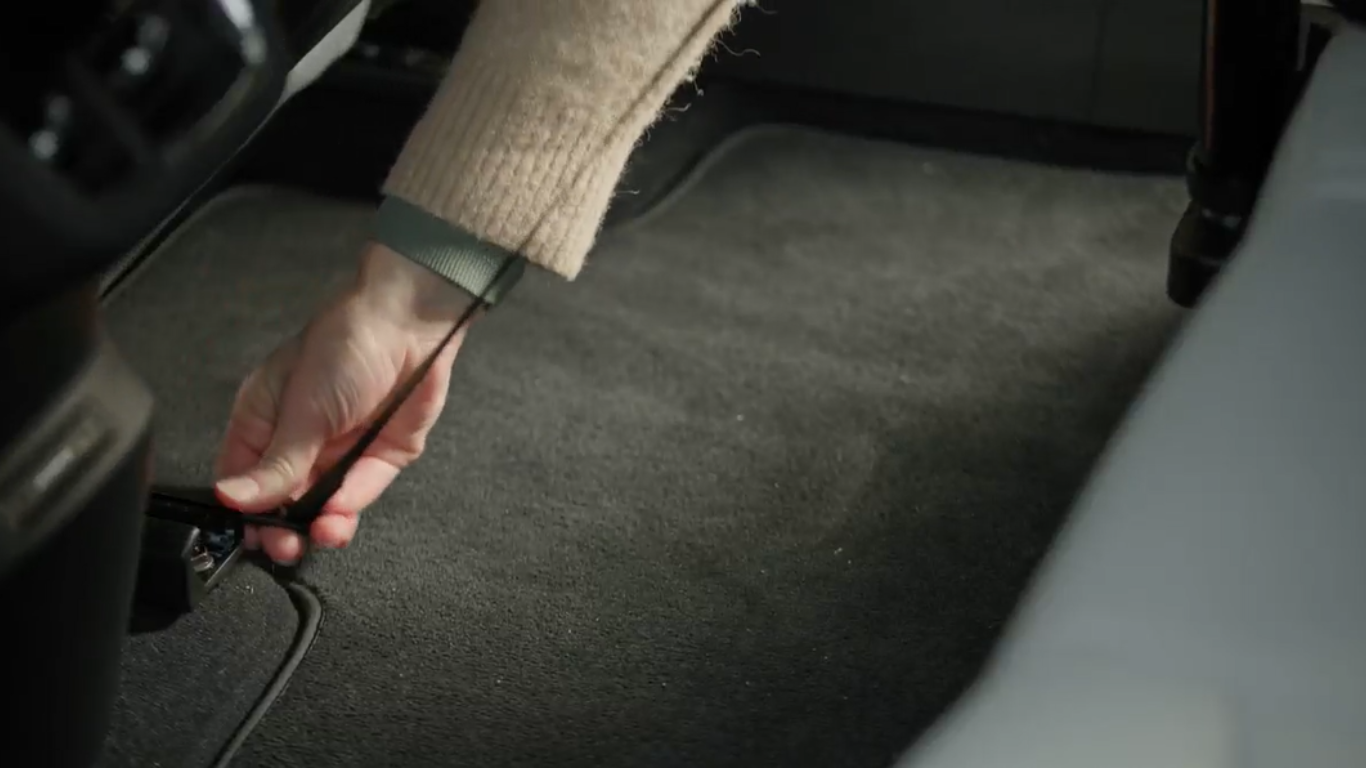
Pull out the automatic tether straps located at the back of the seat and hook them onto the attachment loops in the seat rails. If your vehicle doesn’t have built-in loops, use the lower tether anchorage straps provided.

Push down on the car seat while gently rocking it side to side. This helps to ensure that the seat is properly tightened and securely installed.
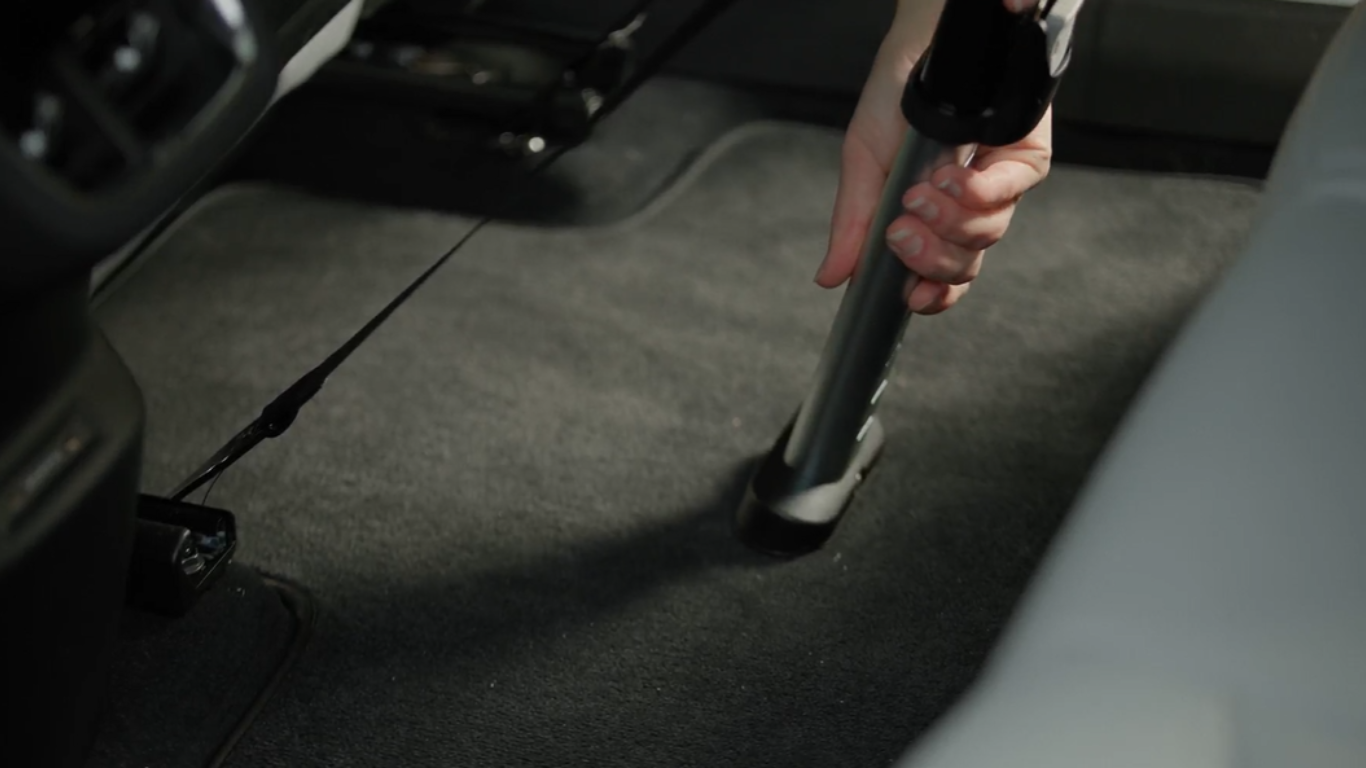
Release the support leg and extend it until it rests firmly on the floor of your car. You may need to slightly lift the seat to allow the leg to lock into position correctly.

Remove the plastic cover from the ASIP attachment point on the side of the car seat. Slide the ASIP into place until it clicks and locks securely. ASIP provides enhanced protection in the event of a side collision.

Place your child in the seat, fasten the 5-point internal harness, and tighten the straps to ensure a secure and comfortable fit.
Want to know if the Minikid 4 Max is compatible with your car? Our vehicle list gives you a clear overview of supported car models and the installation options available for your specific vehicle – quick and easy to check.
Discover why the Axkid Minikid 4 Max is a long-lasting and safe choice. With smart safety features, excellent comfort, and a design that adapts as your child grows, the Minikid family offers safety and convenience for every journey.